

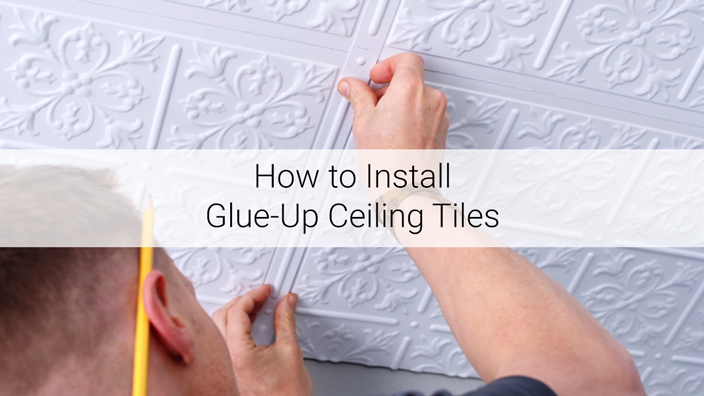
How to Install Glue-Up Ceiling Tiles
Ceilume's Signature ceiling tiles and panels can be mounted directly to a smooth, clean, and firm installation surface using adhesive. Tiles butt together when installed, and self-adhering strips are required to cover the joints between tiles.
Check building codes as required.
Plan Your Ceiling Layout
We love the proverb "measure twice, cut once." It's important to accurately map out your ceiling and double-check your layout before cutting tiles and permanently affixing them!
Draw a layout of your ceiling. Measure and mark the locations of your walls, hallways, closets, doorways, and ceiling-mounted lights, vents, speakers, fans, and other fixtures.
Once you have a basic ceiling plan, decide how you want to lay out your ceiling tiles. For most installations, we suggest trying to create even borders around the perimeter of the room. In some cases, you may want to start at a location that will minimize the number of tiles being trimmed. In others, it may be desirable to center tiles around important ceiling fixtures or other features. It's really up to you!
Temperature Warning
As a guideline, Ceilume ceiling tiles and panels are not affected by ceiling temperatures up to 120°F. In some installations involving halogen lights, metal heat registers, or other heat sources (stoves, ovens, etc.), localized ceiling temperatures can be much higher than anticipated. Please contact us for advice if your installation involves any of these special conditions.
Prepare Your Installation Surface
Your installation surface must be flat, clean, and firm or your new ceiling tiles won't adhere properly. You'll need to remove ceiling texture (e.g. popcorn), and patching and sanding may be necessary if your ceiling is damaged or uneven.
Clean Your Room
Ceiling tiles may come out of the box with a slight static charge, which can attract dust and debris from construction and remodeling. We strongly advise that you finish all sawing, drilling, sanding, and sweeping, and thoroughly clean your room before installing your tiles. Don't worry, our tiles don't create dust of their own, and once installed any static charge will dissipate.
Your hands, work surfaces, and ceiling must be clean and dry. Dust, oil, old paint, and other contaminants can interfere with the adhesion of ceiling tiles and strips, so be thorough!
Mark Your Starting Location
Referring back to your ceiling layout, double and triple-check it for accuracy. Then snap two perpendicular chalk lines on your ceiling, forming a cross at your starting location. Keep in mind that rooms are rarely perfectly square and chalk lines may need to be adjusted.
After double checking that your lines are straight and properly positioned, it's time to break out the adhesive!
Install Main, Full-Size Tiles
When applying adhesive, remember that more isn't necessarily better. It's about using the right amount in the right places.
To start, apply a thin bead of adhesive along the perimeter and down the center of the back of your first tile. For tiles with shallow patterns, a bead around the edge and an "X" in the middle is all that is required. For tiles with deeper three-dimensional designs, add an additional bead of adhesive in the center of each major design feature that will make contact with your installation surface.
Next, position your tile about 1/4 in. from your chalk lines and press it against your ceiling using light to medium pressure. Then slide the tile into place against the chalk lines, allowing the adhesive to spread. Press and rub firmly over the glued areas to smooth out any bumps in the adhesive and to seat the tile into place.
Once your first tile is installed, place adjacent tiles in a similar manner. Do not butt the tiles together with force, simply slide them into place. The joints between tiles and any small gaps will be covered by strips a bit later.
As you move along, use a soft, damp rag to wipe up any excess adhesive while it's still fresh.
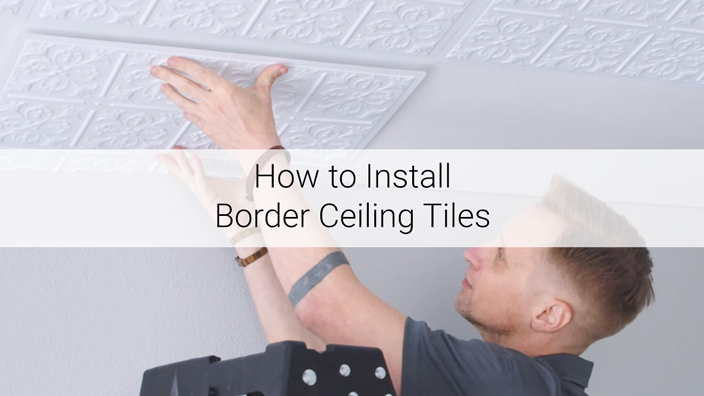
Install Border Tiles
In all likelihood, your ceiling will have some areas that are smaller than a full-size tile (usually around the perimeter of your room). Tiles with strong three-dimensional designs can look awkward when cut and installed against walls, so we recommend using border tiles, which have shallow patterns that lend themselves to trimming and installing in these areas.
To install border tiles, simply measure from the edge of installed tiles to the wall, then cut your border tiles to size with scissors or snips. Adhere the trimmed border tiles to your ceiling with the cut edges toward the wall.
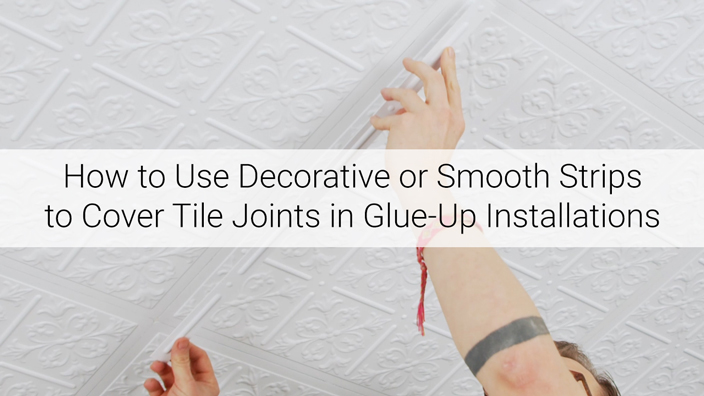
Install Strips
Decorative strips are self-adhesive, designed to cover the joints between tiles, and feature a repeating dot-dash pattern. Smooth strips are pattern-free, but are installed in the same fashion.
Before you begin, make sure that all of your tiles have been installed correctly and evenly. It is also incredibly important to make sure that your tiles are perfectly clean and dry. Dust and oil can accumulate during installation, so even freshly installed tiles should be cleaned before strips are applied.
Dry-fit your first strip by holding it up to your ceiling and placing its end over the intersection of four ceiling tiles and its length over the joint between two adjacent tiles. If you're installing decorative strips, center the dot-end of the strip over the four-way intersection. Trim the strip to length.
Peel off the paper backing to expose the adhesive. Line up the strip as before and stick it into place. Press firmly and evenly over the entire strip to ensure that the adhesive forms a strong bond with your tiles.
Your next strip will butt directly against the first. Dry-fit and trim to length as before. Do not overlap strips. If you are installing decorative strips, pay close attention to the repeating dot-dash pattern - the dot end should always land over a four-way intersection of ceiling tiles.
While not necessary for many installations, a few dabs of adhesive can be added to each of your strips before installing. This adds an extra layer of security and increases the durability of your installation.
When you reach a section that requires a less-than-full-size strip, like at your ceiling border, simply measure, trim your strip to size with scissors or snips, and then install.
Install all of the strips running in one direction before installing the strips running perpendicular to that first set. Each of these "cross strips" will be less-than-full-size and will need to be trimmed to length. If you are installing decorative strips, trim the dot off the end of each strip in the second set in order to keep the dot-dash pattern consistent. Measure and install carefully to ensure that no strips overlap!
Maintenance
-
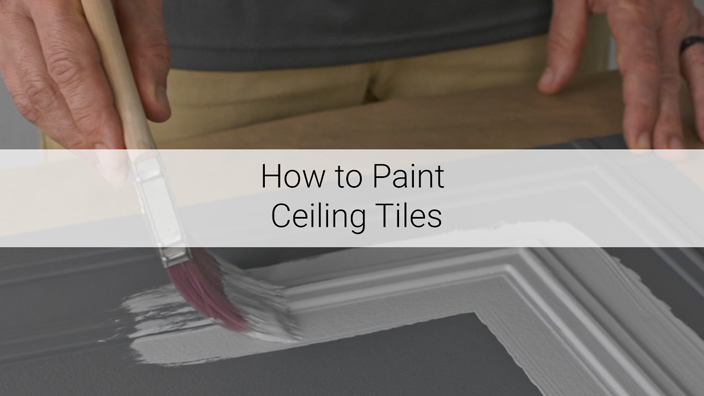
Painting
All non-laminated Ceilume tiles, panels, strips, and grid covers can be painted before or after installation.
For best results:
- Make sure that everything is clean and dry
- Do not use solvent-type thinners or cleaners
- Experiment on a sample before working on your ceiling in its entirety
Painting precautions:
- Ceilume cannot guarantee that the published fire safety ratings and product specifications, certifications, listings, and approvals will remain the same after painting. Therefore, field painting will void the warranty.
- Ceiling tiles and panels being used in a drop-out installation MUST NOT BE PAINTED. Painted tiles and panels are prohibited from use beneath ceiling fire suppression sprinklers.
-
Cleaning
Ceilume tiles, panels, strips, and grid covers require no special cleaning agents - just wipe them down with a soft, damp rag. Small, stubborn spots can be handled with mild soap, and tiles are 100% waterproof so there is no risk of water damage during cleaning!
Do not use cleaners containing organic solvents or other aggressive ingredients as they may affect the surface appearance of your tiles and accessories. Examples of these types of cleaners include chlorine bleach, liquid grease remover, strong detergents, and nail polish remover.
-
Storing
Store any extra boxes of ceiling tiles upright in a single layer (do not stack). Choose a cool spot out of direct sunlight.
We Are Here to Help!
We hope that the information above is clear and provides the answers to any questions you may have along the way, but if it does not, please do not hesitate to contact us directly for help.
- Hours: 8:00 AM - 4:30 PM, Pacific Time
- Phone: 1-800-557-0654
- Email:
